
Keeping Your Patio Heaters Alive (Without the Headache)
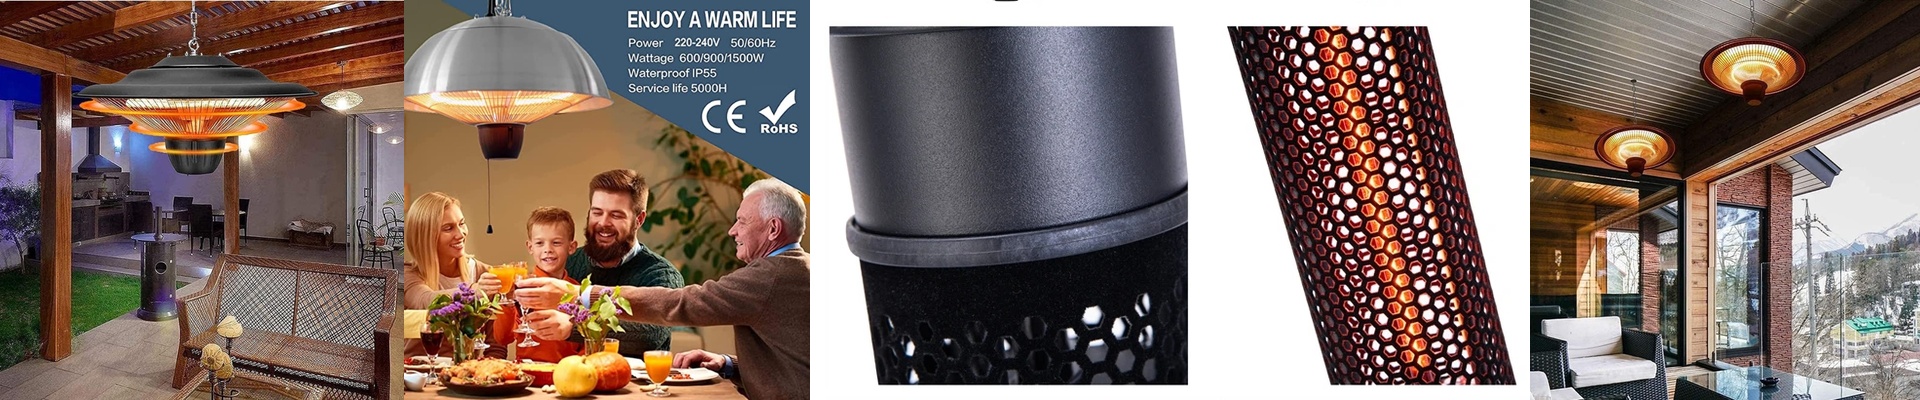
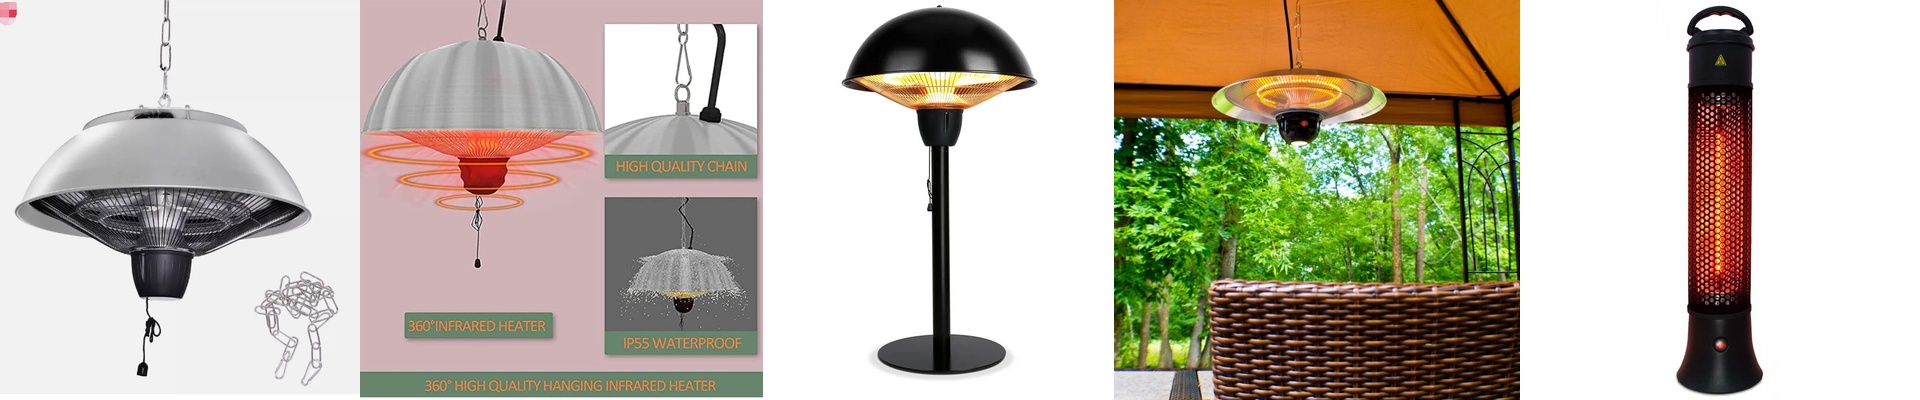
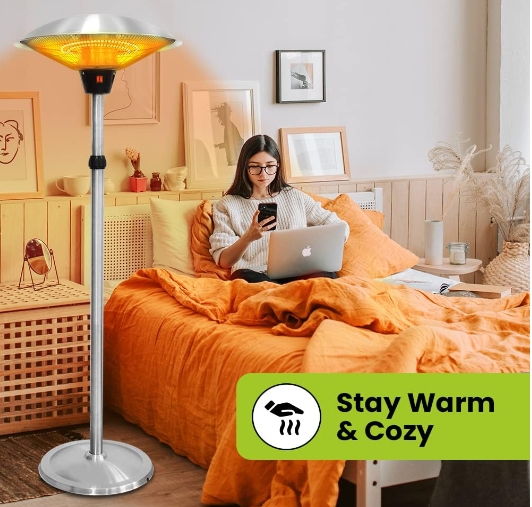
Nightclub patios are brutal. Between the rain, the humidity, and the general chaos of a crowded dance floor, outdoor heaters take a beating. When we build these things, we aren’t thinking about how they look on day one. We’re thinking aboutYear 5. Usually, the metal frame is fine. The part that actually gives up? The heating element. It’s just a matter of time before it burns out.
The “Quick Swap” Approach
We didn’t want you to have to throw away a whole expensive heater just because one part died. So, we ditched the complex wiring and soldering. Instead, we put the heating elements in these little quick-access cassettes. You just pop the old one out and slide a new one in. You don’t have to tear apart the waterproof housing to do it, which is a huge deal. See, if you mess up those waterproof seals during a clumsy repair, the rain gets in and the whole thing is toast. The modular design keeps those seals untouched. It’s safer and way faster.
A Heads-up on the Power
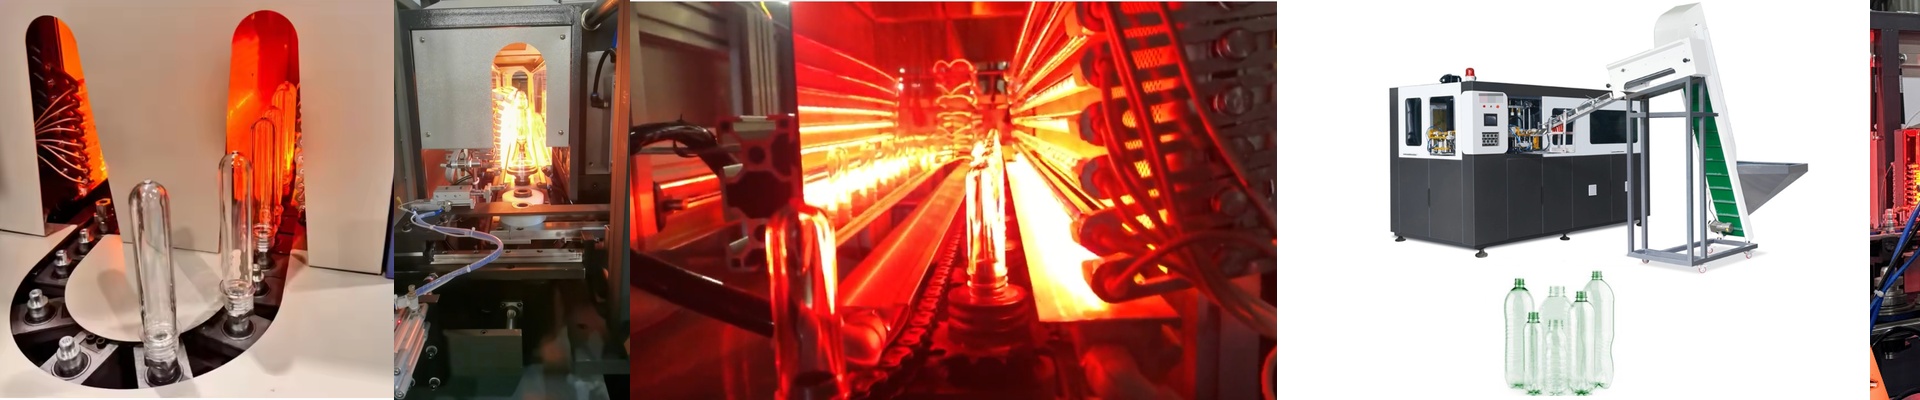
To actually fight the wind and cold on an open patio, we use shortwave infrared tubes. They punch through the chill, but they need a lot of juice to do it. Here’s the thing: you really need to make sure your electrician gets the breakers right. If you flip the switch on twenty of these units at once on a freezing night, a weak circuit is going to trip immediately.Don’t skip the prep on the electrical side.
Real-World Maintenance
Replacing a tube should be a “minutes” job, not an “entire afternoon” job. We used standardized connectors so you aren’t standing there guessing which wire goes where. Slide the old tube out. Click the new one in. Bolt the guard back on. Done. Now, to make this work, the heater head is a little bit bigger to fit the rails. But honestly? Saving eight hours of labor per unit over a few years is worth a few extra centimeters of steel any day.